


In March of 2015 I had a ~90 year old maple tree in my front yard fall down during a storm. Rather than simply turning it into fire wood I figured I would something a bit more interesting…what I settled on was a coffee table (useful, but simple enough that I thought a reasonable target to try and build).


Now in order to build this project I had to solve a number of key issues:
- Turning a tree into lumber
- Joining
- Planing
- Finishing
- Mounting
1) Turning a Tree Into Lumber
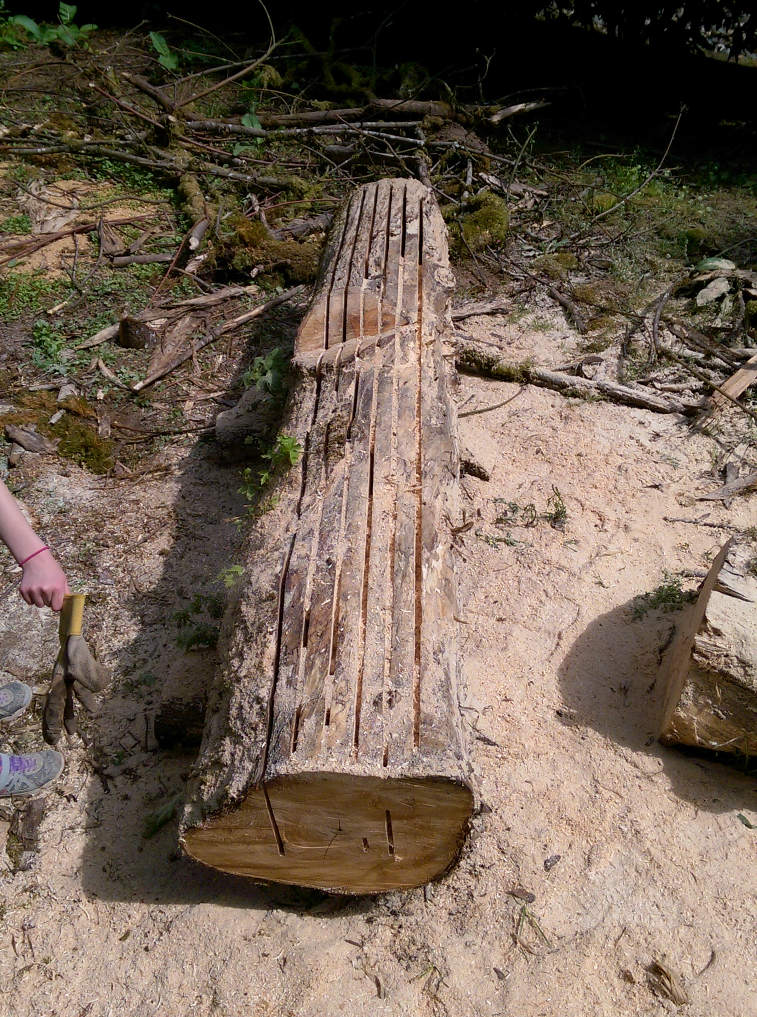
First, the tree needed to be cut into lumber, now I could have spent hundreds for someone with a mobile sawmill to come out – but that would have been way overkill to cut a single log (as a naturally grown maple tree a lot of it wasn’t straight/thick enough to easily work with, so I just cut it into firewood). In order to rough cut it what I ended up doing was using a Haddon Lumber/Maker, an attachment for my chainsaw that uses standard 2″x6″ lumber as a guide.
|
|
|


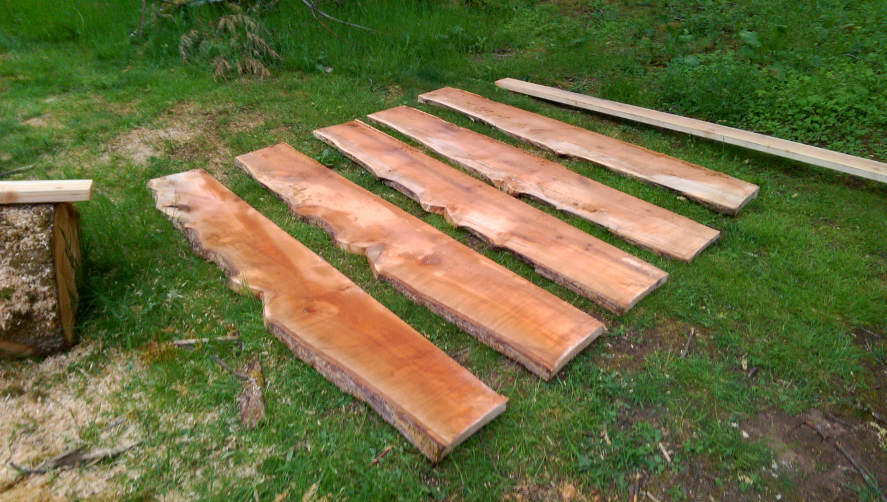
Next up, very important step, is letting it dry properly.
A couple things here to consider is that you need it to dry consistently across the whole board otherwise it will warp and split. In order to help this along you need some product on the ends of the boards so that moisture escapes through the body rather than the ends. You could use a commercial product like Anchorseal, or more run of the mill products like a latex paint or roofing tar – in my case I used roofing tar because I already had some in the garage and it’s cheap…but next time I do this I might look into Anchorseal (if nothing else because the roofing tar stained the ends of some of my boards). Unfortunately I didn’t take any pictures of this process, but I suggest you do some research for your own projects.
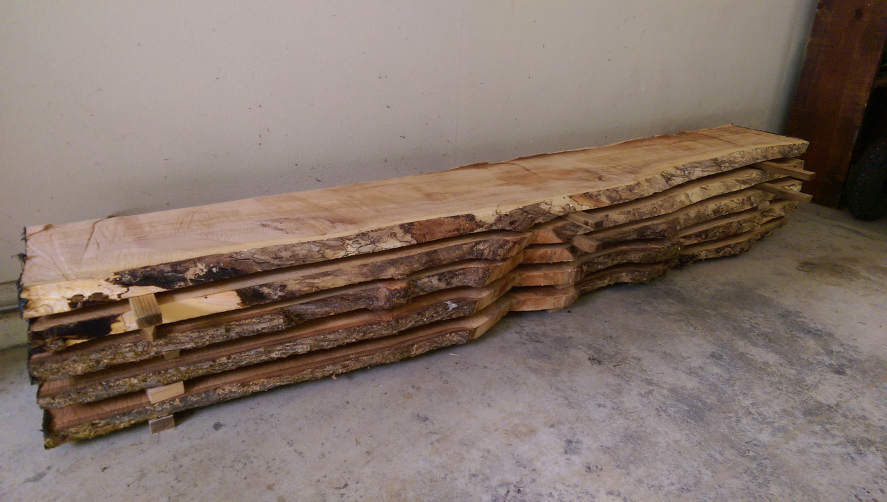
Now comes the wait…the wood needs to reach a stable/dry moisture content before you work it. How long this will take varies a lot based on wood species and the humidity of your environment (or if you’re air drying versus kiln drying), as I was air drying I found several suggestions online to give about 1 year per inch which seemed to work for me.

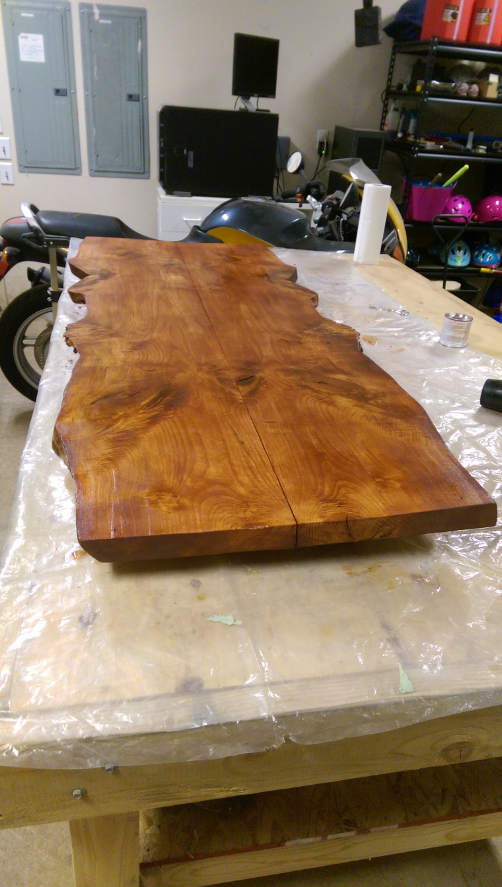
2) Joining (if your piece is not wide enough on it’s own)
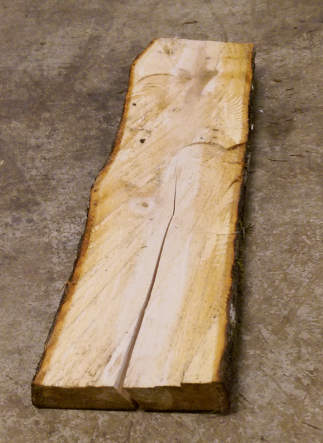
On this project, if I’m honest, this is one of the areas where I was least equipped and I’ve got a few minor flaws that I’m living with. I’m okay with a few flaws as I wanted a bit more rustic/rough edges on this project so I screwed my boards to strip of plywood that I used as a guide and ran over my table saw until I had a straight surface. I then used my router with a biscuit bit and glued/biscuited together (picture post-finishing, unfortunately I didn’t take any pictures at this stage).

3) Planing and prepping
Once you’ve got your piece ready you’re going to need to plane it so it’s nice and smooth. If you’re looking for something with a nice finished look I suggest using a full-size commercial planer (i.e. taking to a woodworking shop) so it’s clean all the way across, as I was looking for something a little more rustic and wanted to leave some tool marks I ended up hand (power) planing. This took a couple hours, but I’m pleased with the end product.
For the edges you’ll need to clean them up and remove the bark. I used a chisel, file and a sanding sponge to accomplish this.
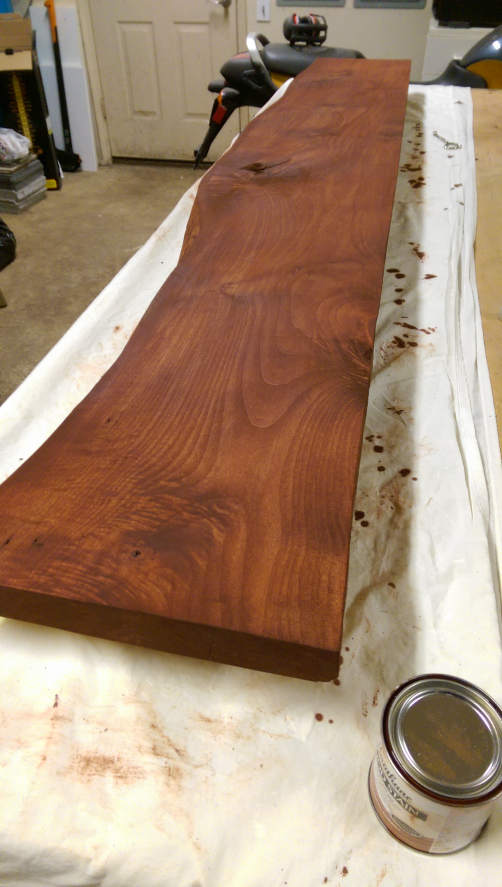
4) Finishing
Staining and sealing are probably the steps most are familiar with. Pick a stain and sealant that best matches your desires (and be sure to test on a scrap piece of wood first). I used a dark cherry stain with a thick outdoor urethane, I was aiming for the kind of finish you might see in a rustic lodge’s bar.

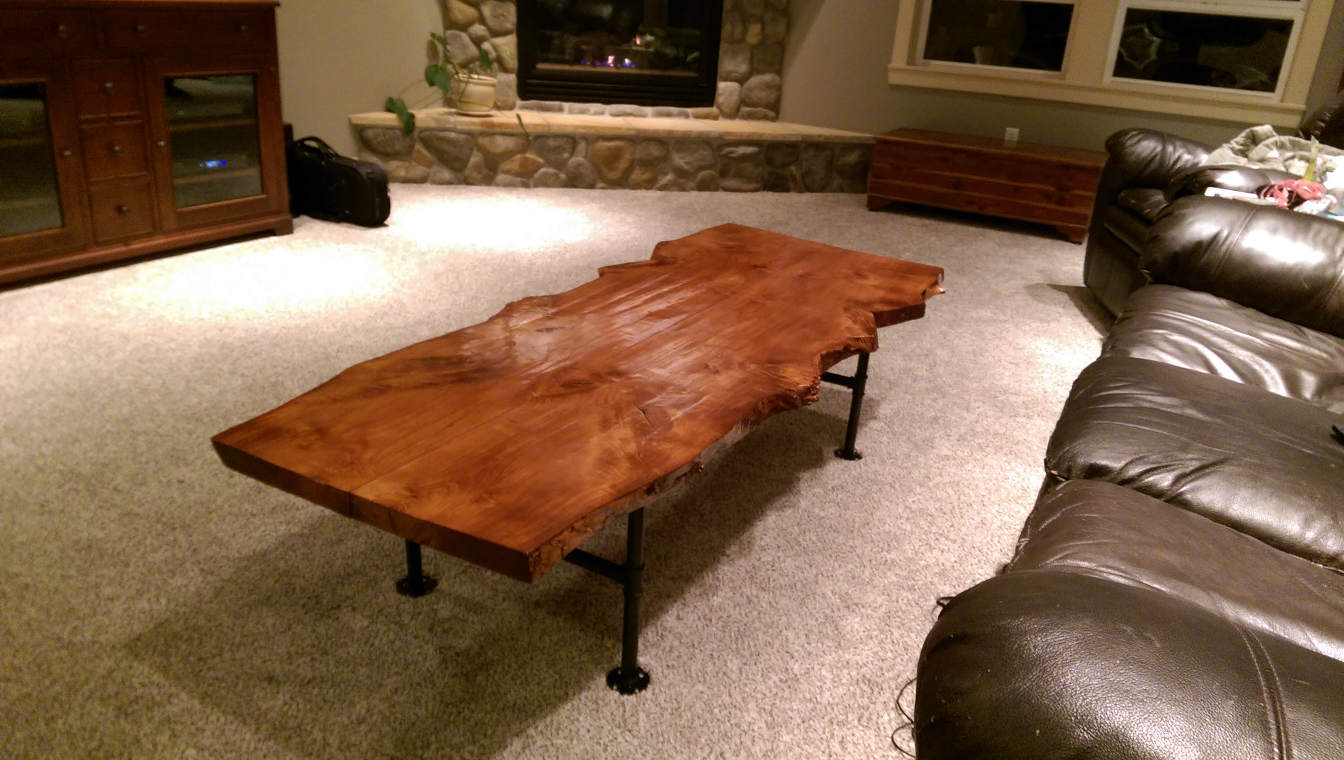
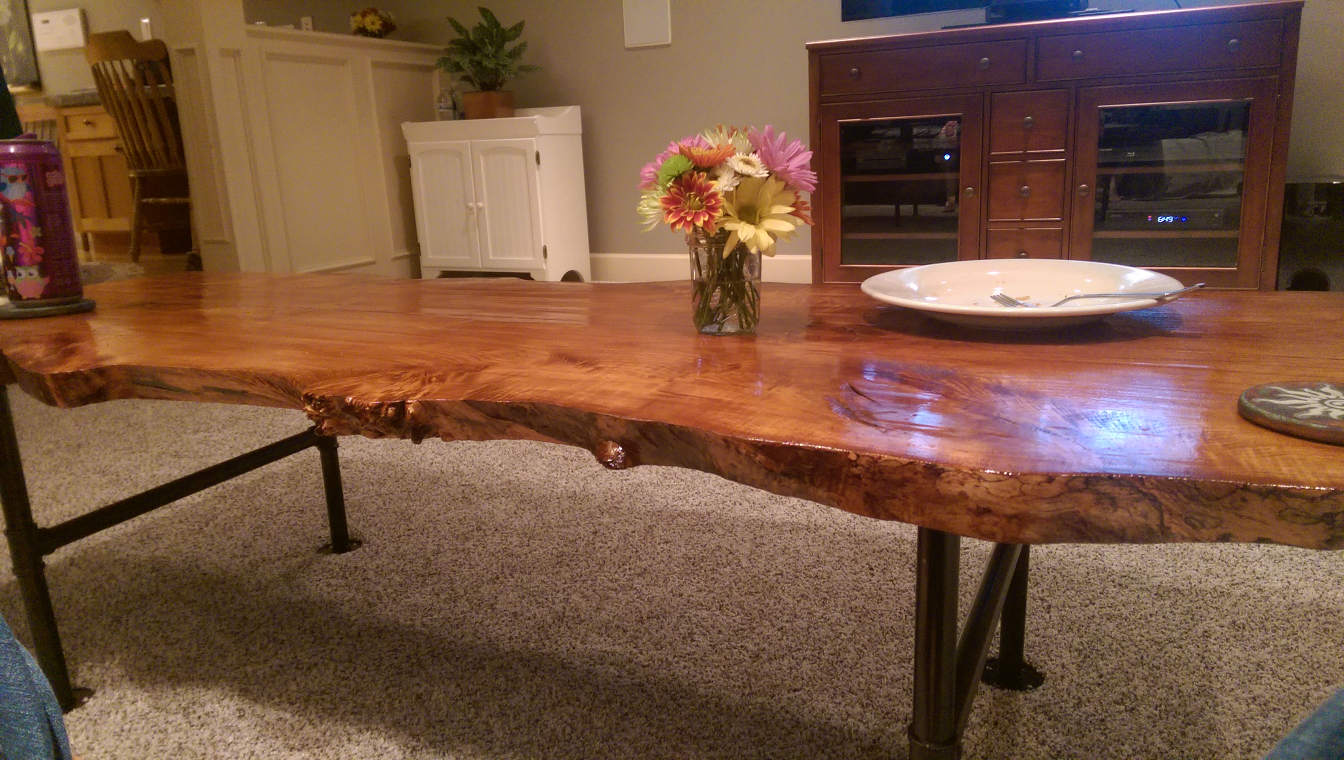
5) Mounting
Last step, getting your table top onto some legs! There are tons of pre-made legs you can order online, but you could also make your own or buy something used (flea market, antiques store, etc.). I ended up going for galvanized pipe to give a bit of an industrial flare, I could have made this myself but ended up ordering online as I found a set that was pre-made and powder coated so it saved me quite a bit of time.
Note that with a project like this, especially if you go long (mine was 6′ long) it’s probably not going to be 100% level. I ended up with about 3/8″ that I ended up shimming with some washers.

Hope you have fun with your project, I sure had fun with this one. The timing as I write this is good as I just had a dug fir come down in a winter storm a few days ago…time to come up with a new project idea!
Erik
Technology, science, building things and experiencing the world. What more could anyone ask for?
FreeLearner.how founder and doer of many things